
1. Add a logo
Use the clearest version you have. A PNG with a clear background works well.
The complete app guide
Set up your brand once. Then make clear, on-brand posters without starting from scratch every time.
Start here
You do not need to fill in everything. A logo, a few colours, and one good photo are enough to begin.
Use the clearest version you have. A PNG with a clear background works well.
Pull them from the logo or choose each colour yourself.
Upload products, people, events, or anything the poster should show.
Add the title, date, place, details, contact, and next step.
Choose the poster shape and image quality before you generate.
Your finished poster will open in Projects.
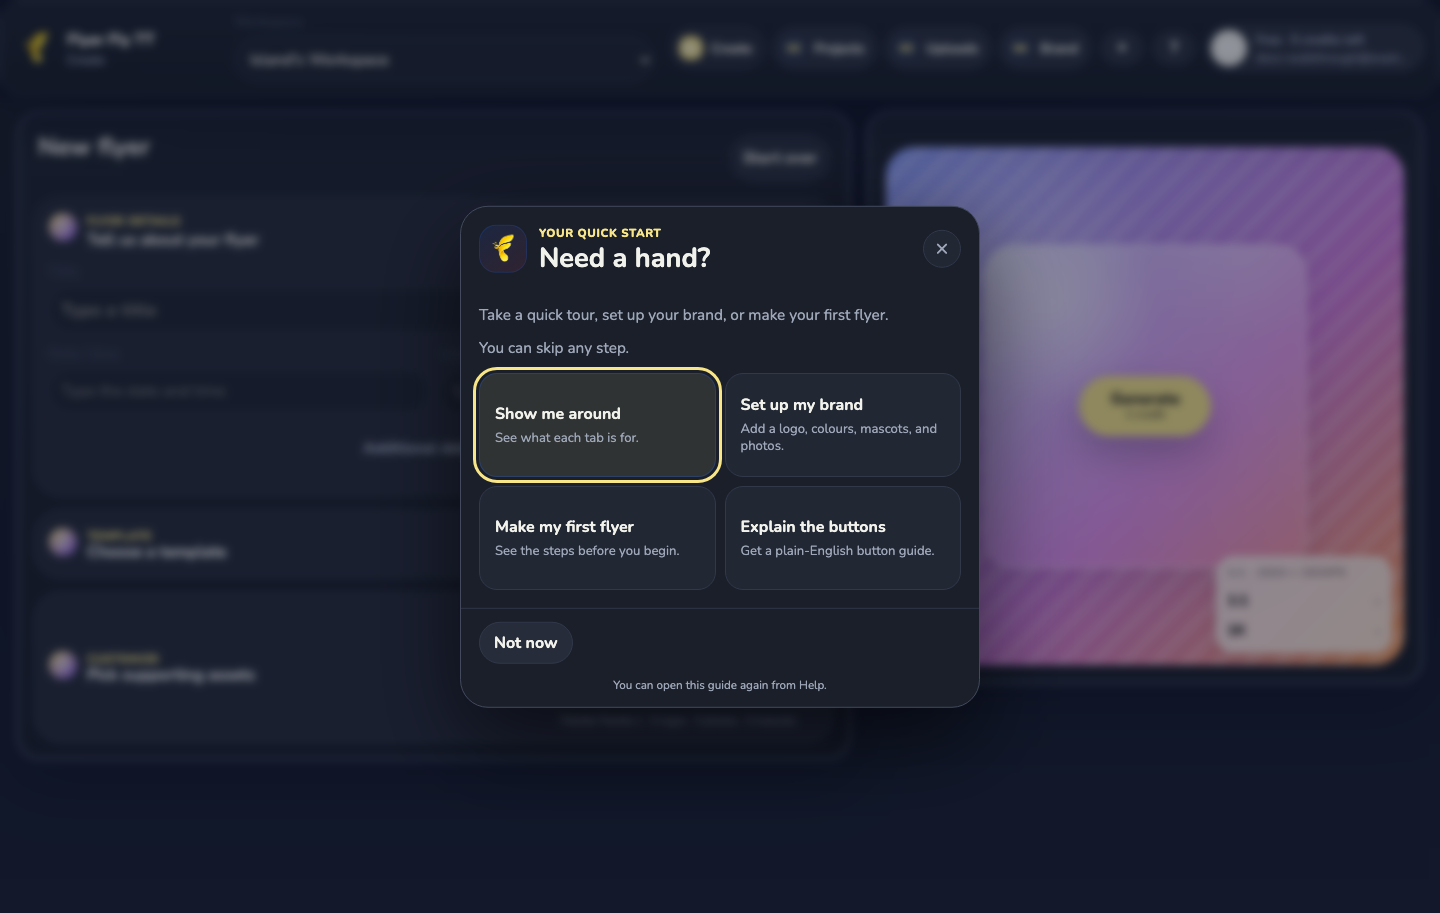
Know your way around
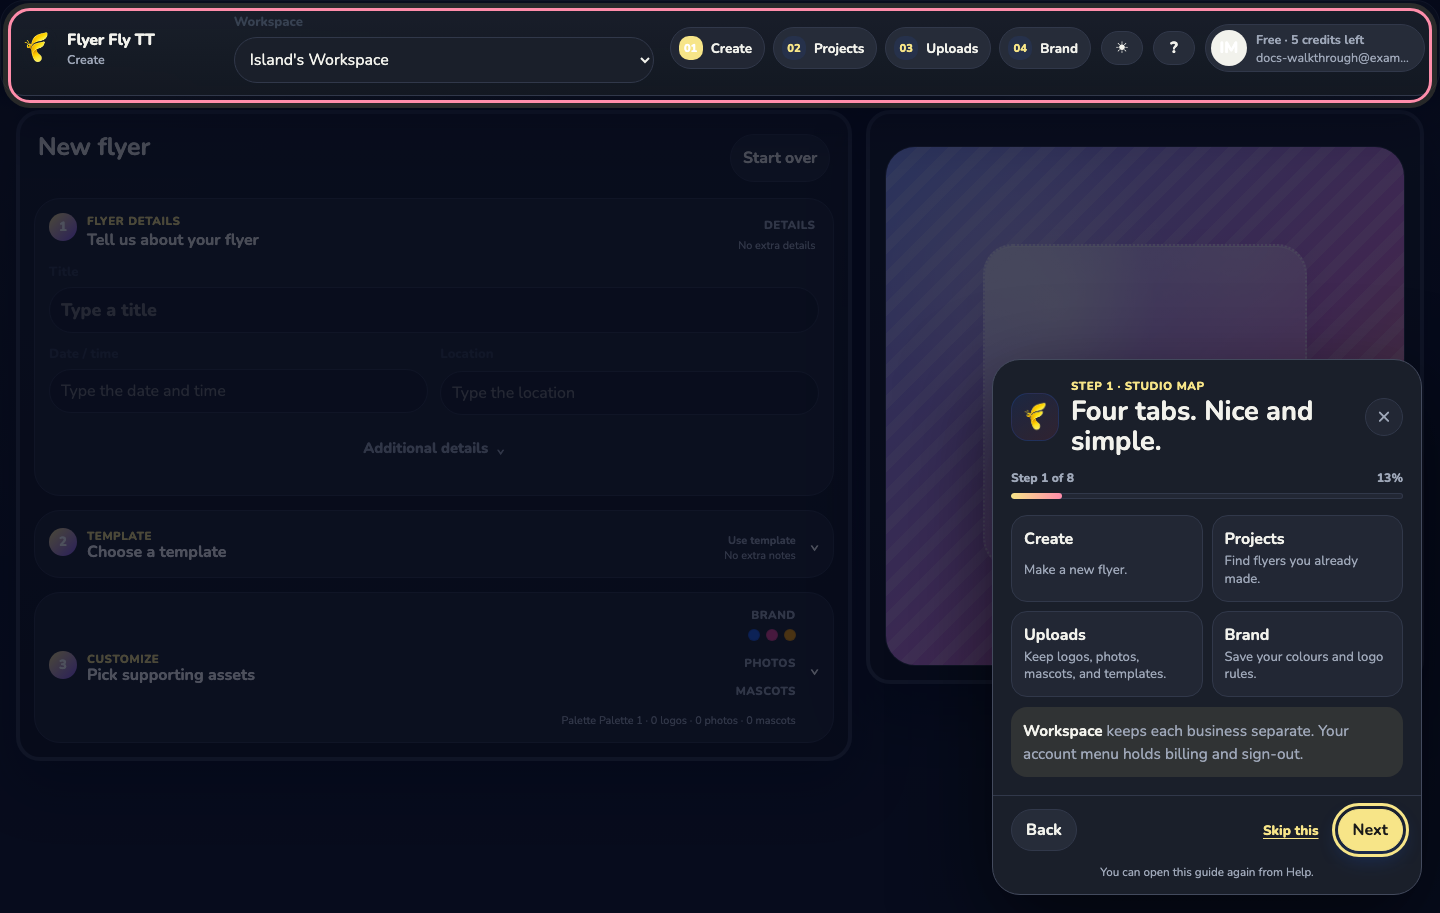
Most of your work happens in four places.
Start a new flyer. Add the details, look, pictures, format, and quality.
Find every flyer you made. Open one, request changes, or delete it.
Keep logos, mascots, photos, and template references in one place.
Save colours, logo placement, logo size, and default mascots.
Set it once
Your brand kit gives every new flyer a head start. You can change it later.
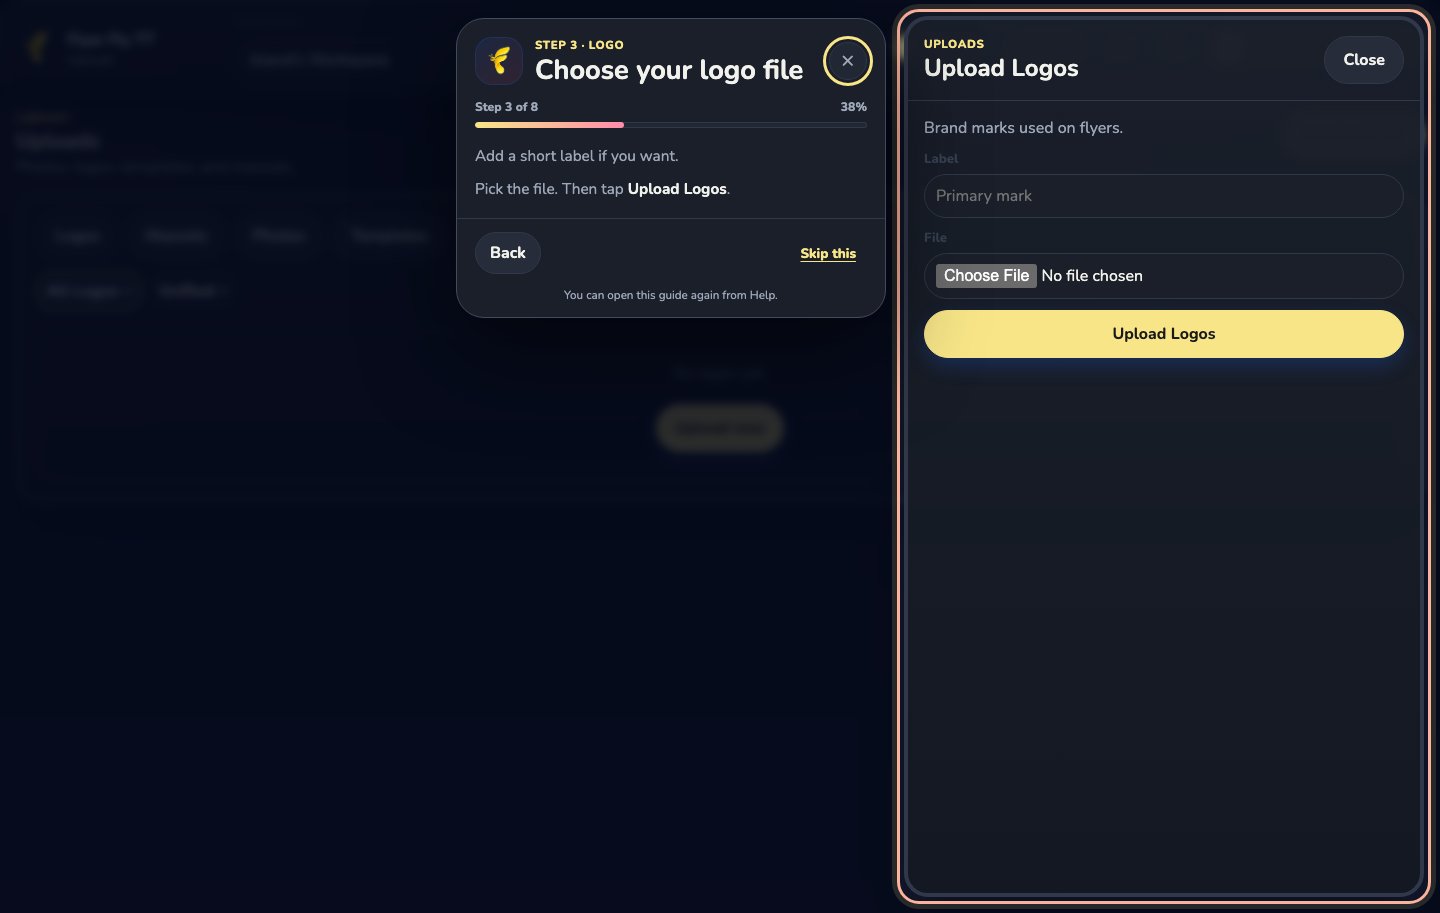
Open Uploads. Choose Logos. Tap Upload Logos.
Open Brand. Expand the logo card.
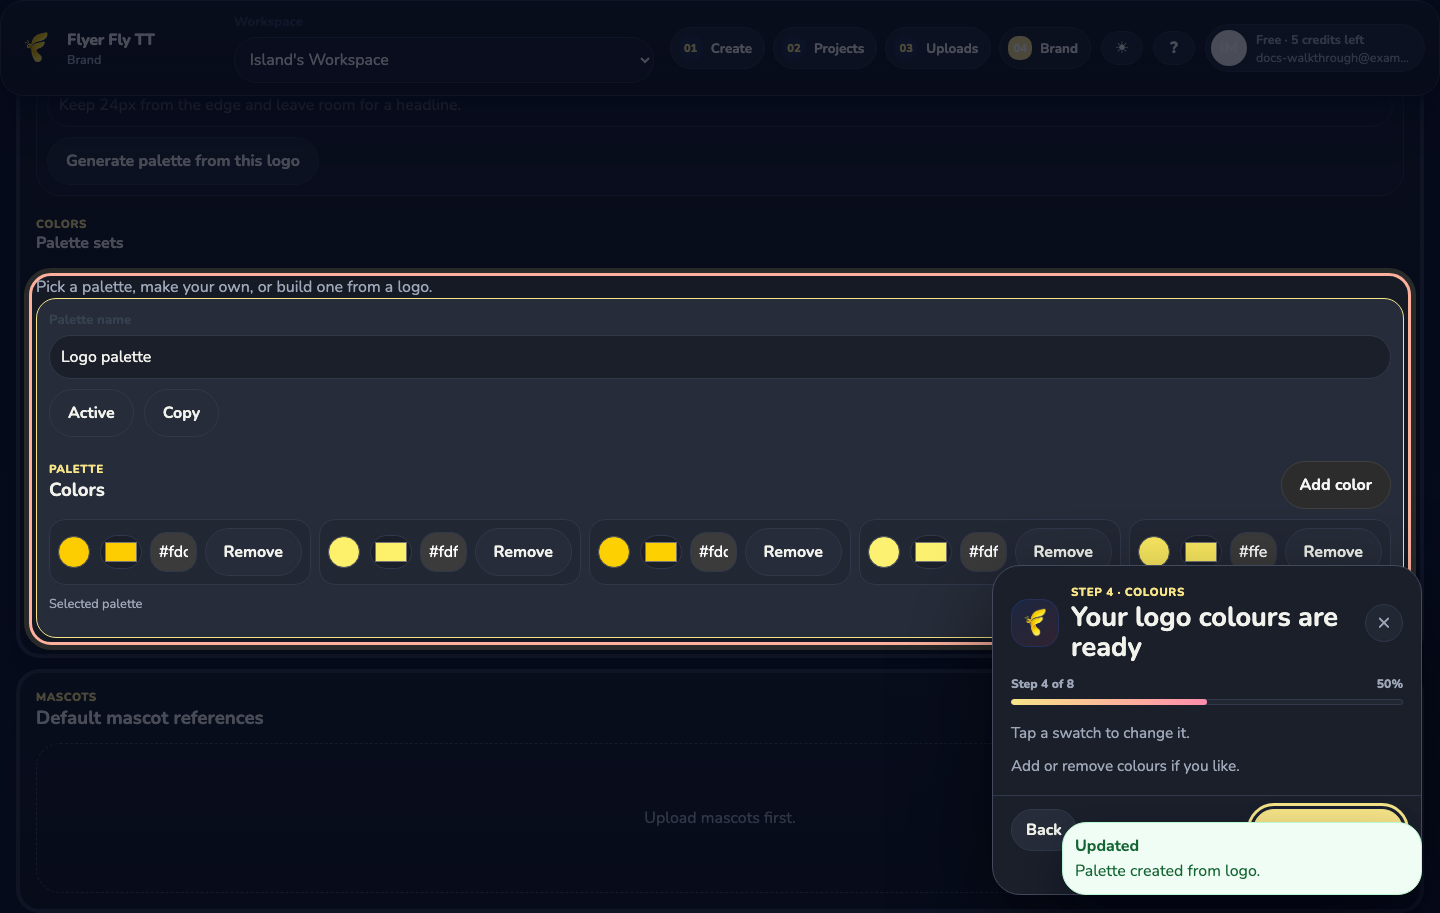
Tap Generate palette from this logo. Flyer Fly will pull a small set of colours.
Tap any swatch to fine-tune it. Add or remove colours if needed.
Tap New palette. Name it. Then change each swatch.
Use Make active when you want that palette to be the default.
Tap Save brand. Your logo rules and colours are now ready for Create.
Your file shelf
Uploads are saved inside the current workspace. They stay ready for future flyers.
Your main logo, white logo, partner logo, sponsor mark, or event logo.
Characters, icons, or recurring artwork that should keep the same identity.
People, products, venues, food, events, or any real picture the flyer should use.
Flyers or designs you like. They guide the layout and visual mood.
Create folders for campaigns, clients, products, or events. Drag an upload onto a folder to move it.
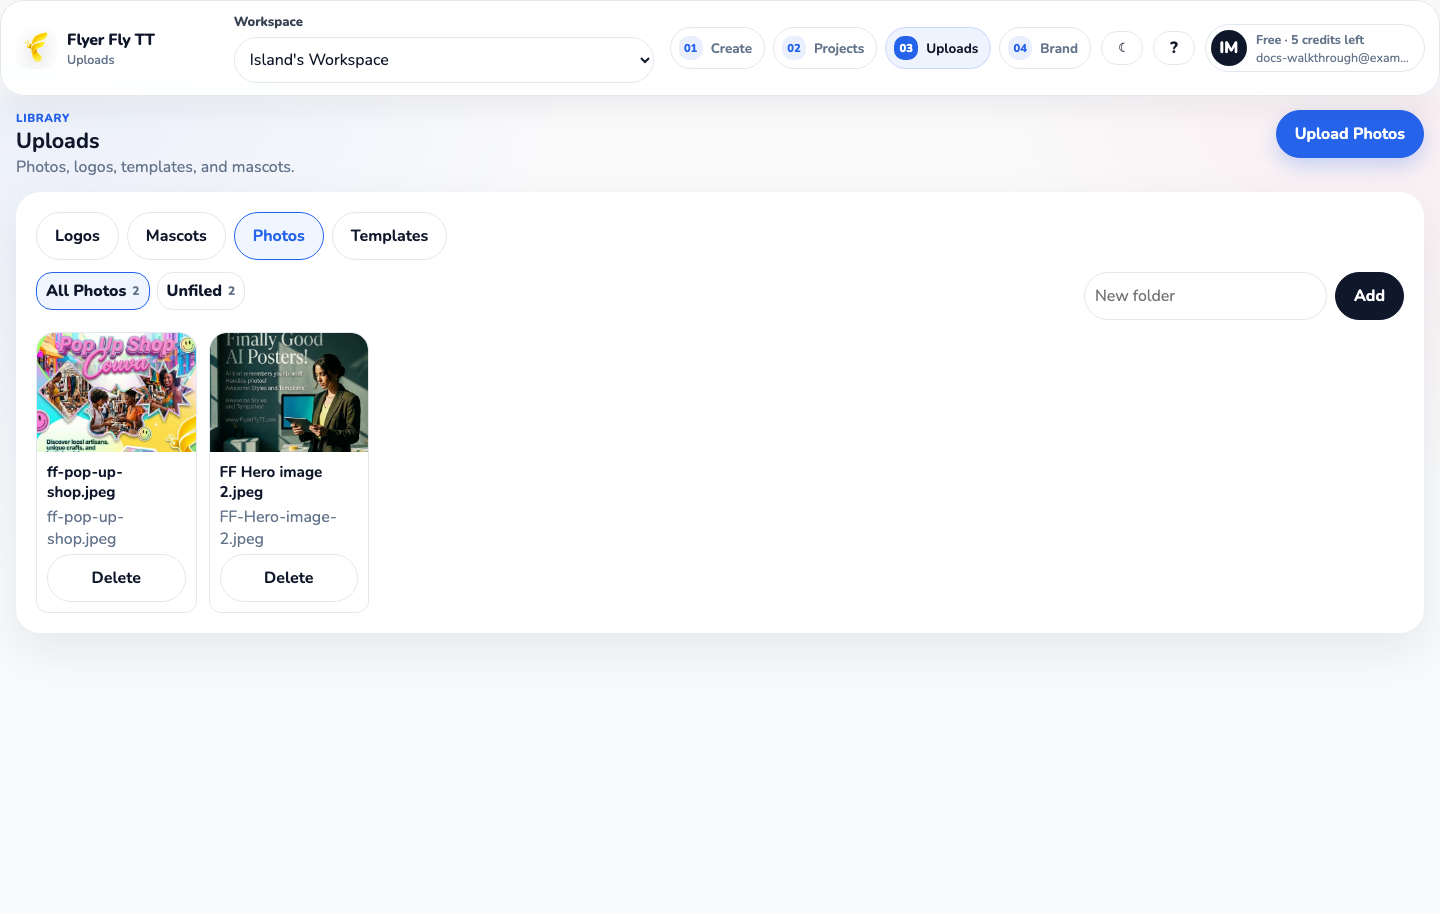
Start to finish
This example was made inside the app. It starts with a blank brief and ends in Projects.
Open Create. Add the title, date, and place first.
Open Additional details for the rest:
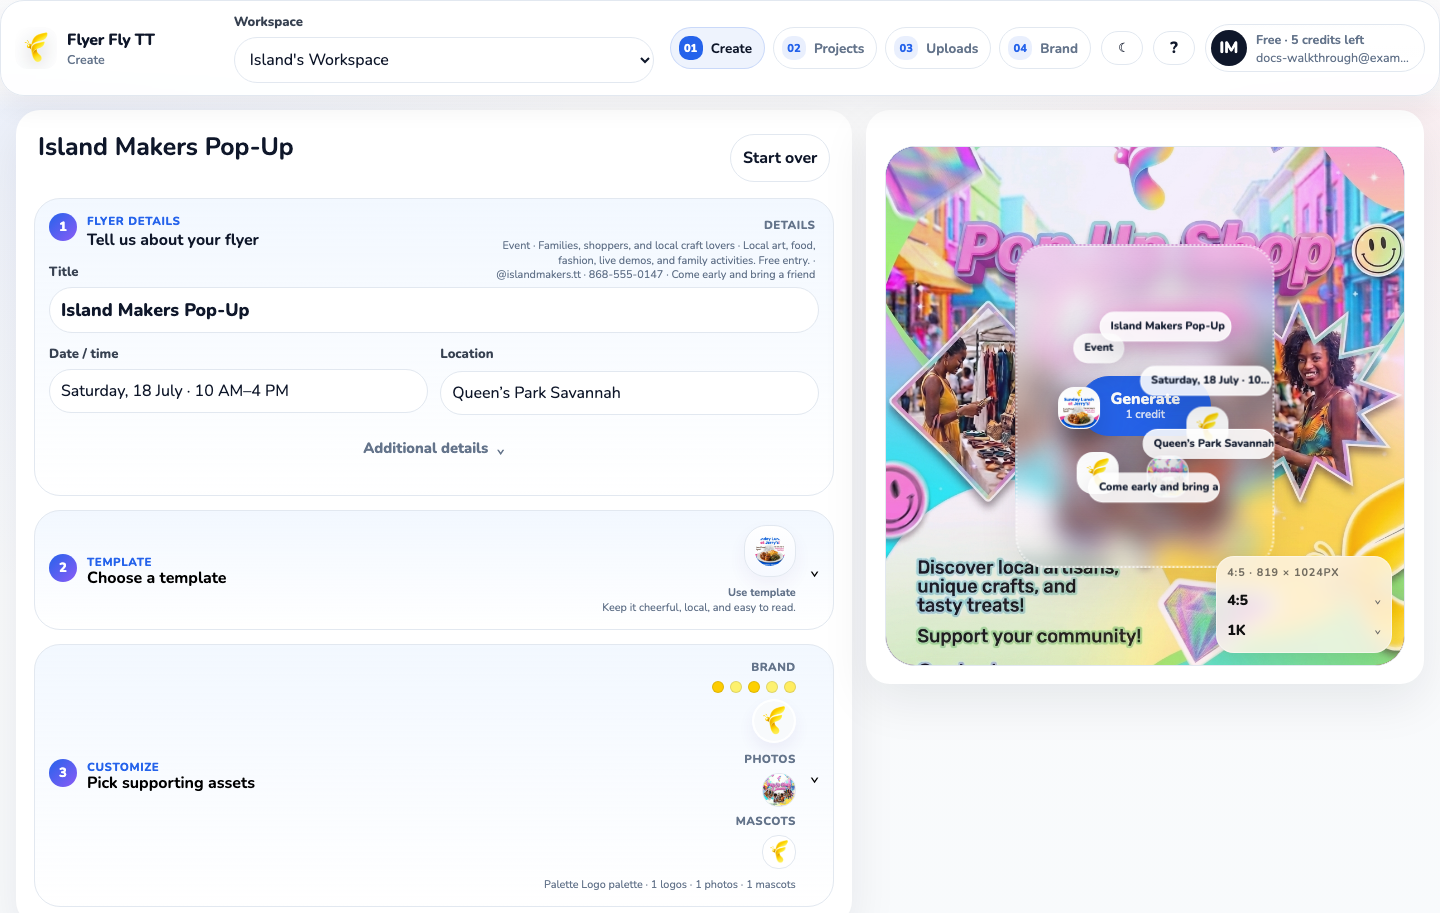
Open Choose a template.
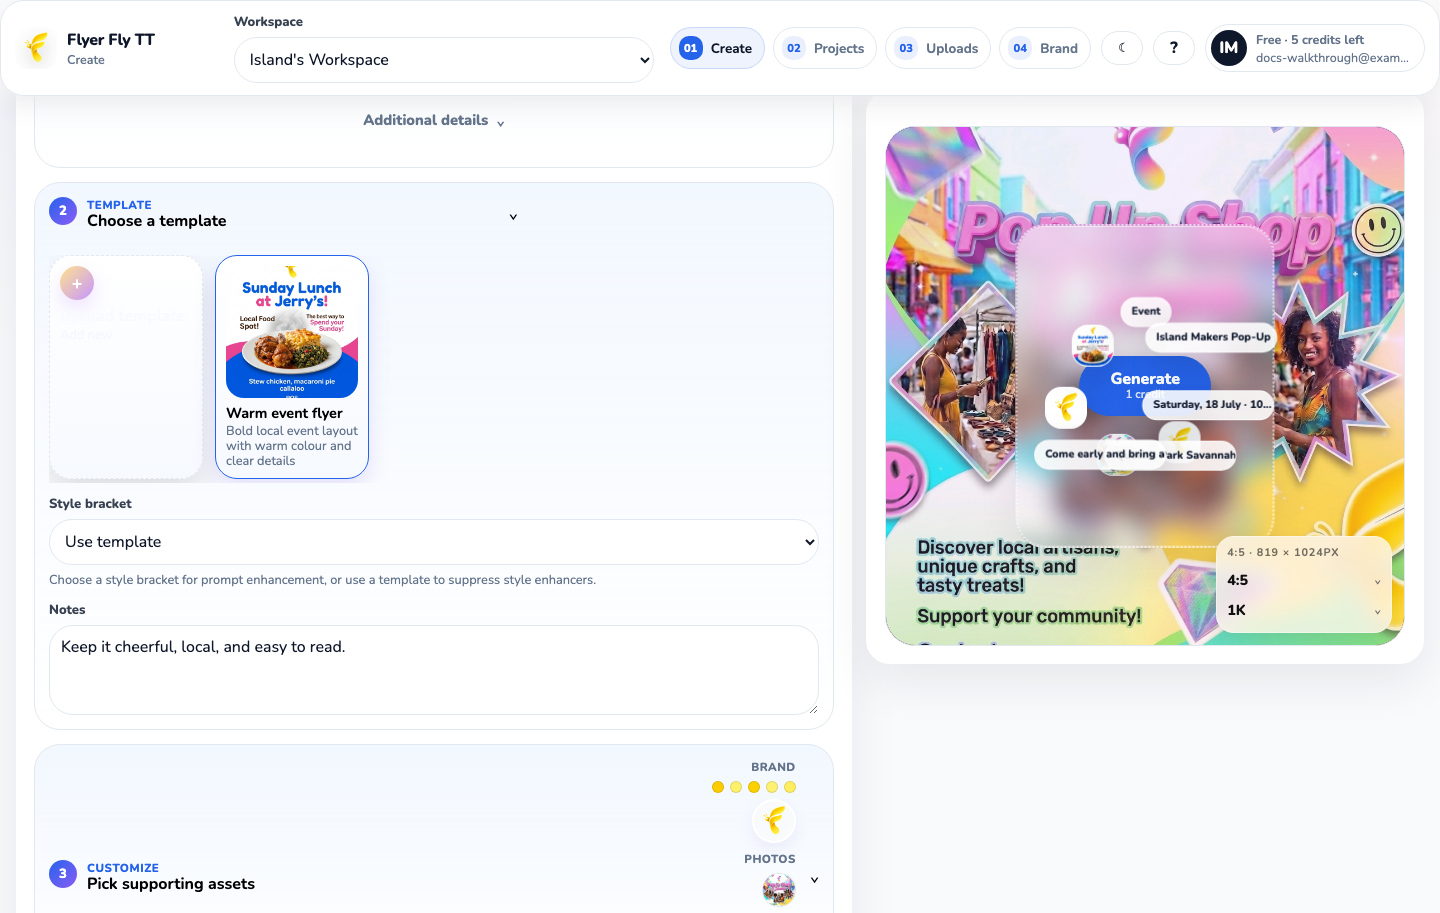
Open Pick supporting assets.
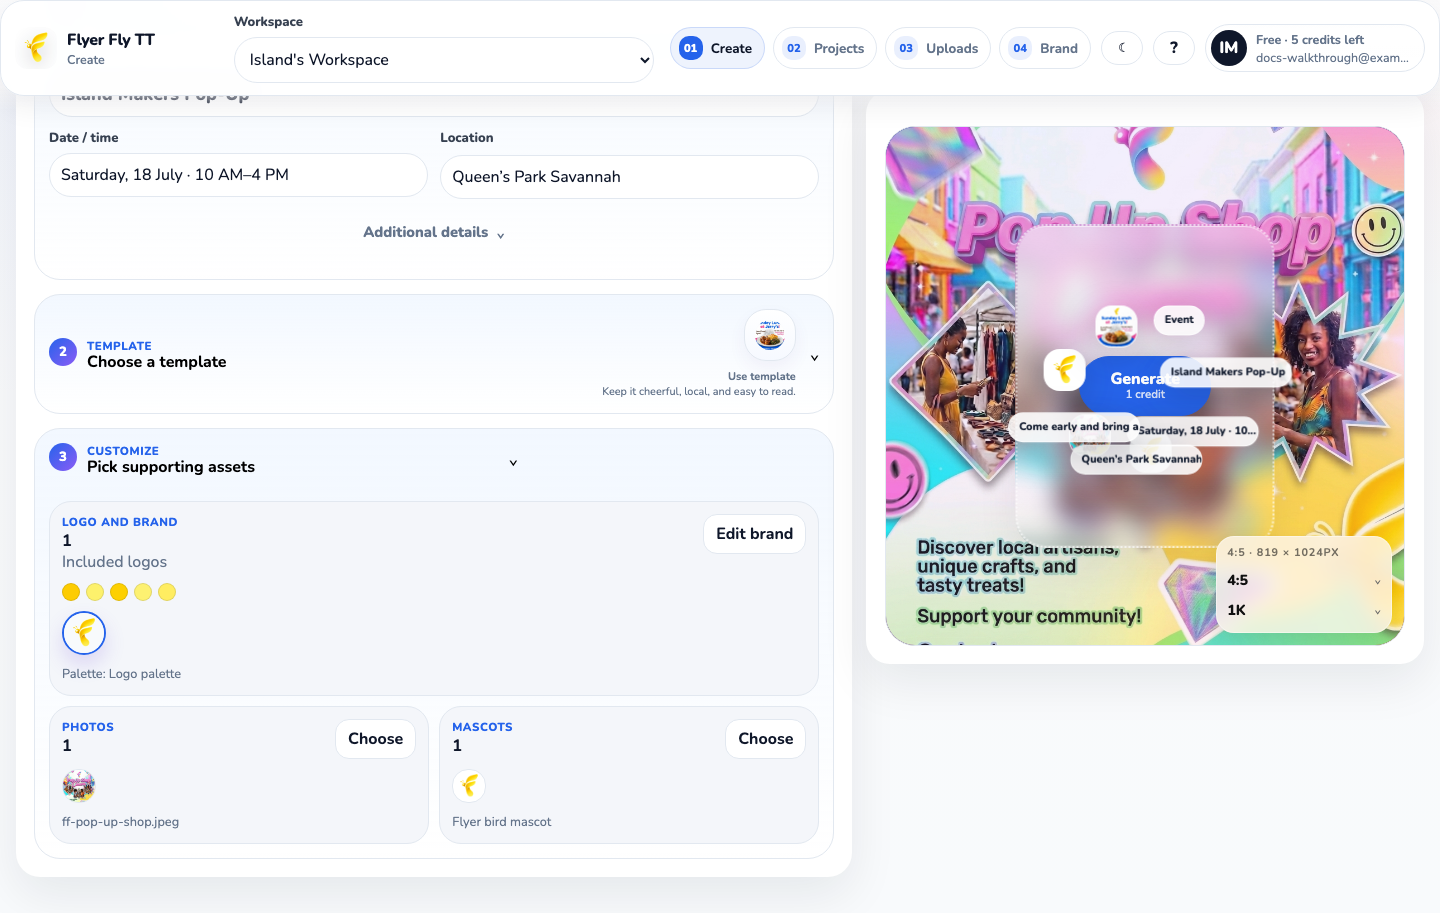
The controls sit on the preview.
Check the credit cost on the button. Then tap Generate.
Keep the page open while the poster is being made. The finished poster will open in Projects.
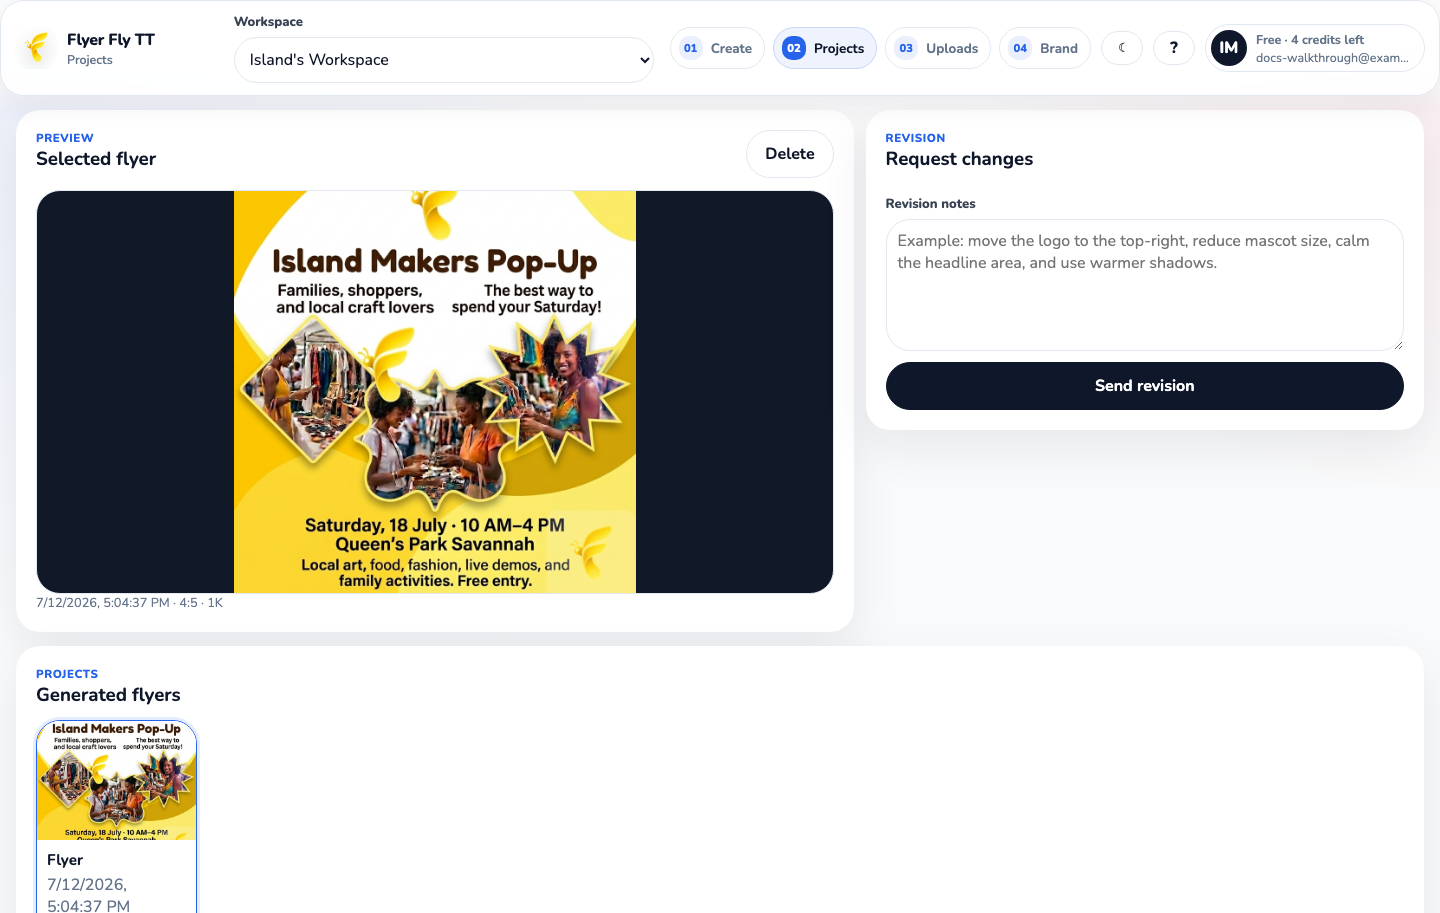
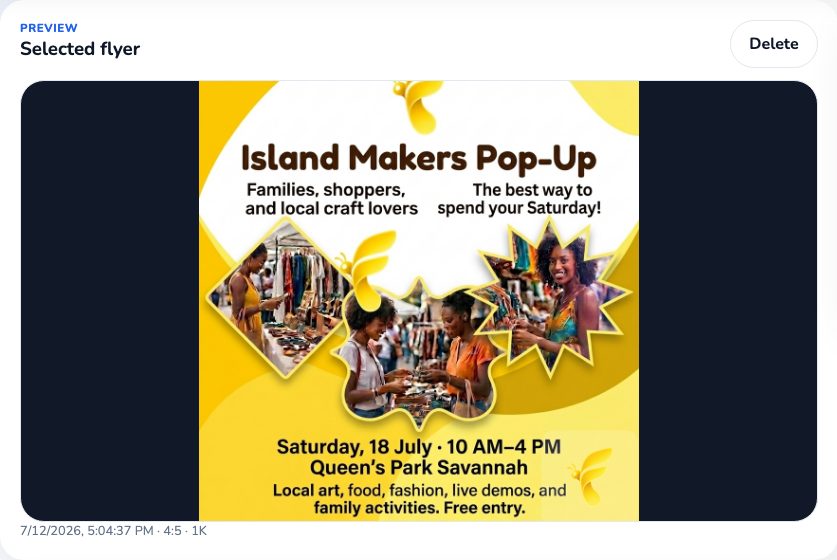
This poster used the uploaded logo, yellow palette, pop-up market picture, saved template, and full brief shown above.
Keep improving it
Projects keeps every generated flyer in the current workspace.
Tap a flyer card in the project list. The large preview will update.
Say what should stay and what should change.
Example: “Keep the yellow look. Move the logo to the top-right. Make the date a little larger.”
Tap Send revision. The new version will appear as another project.
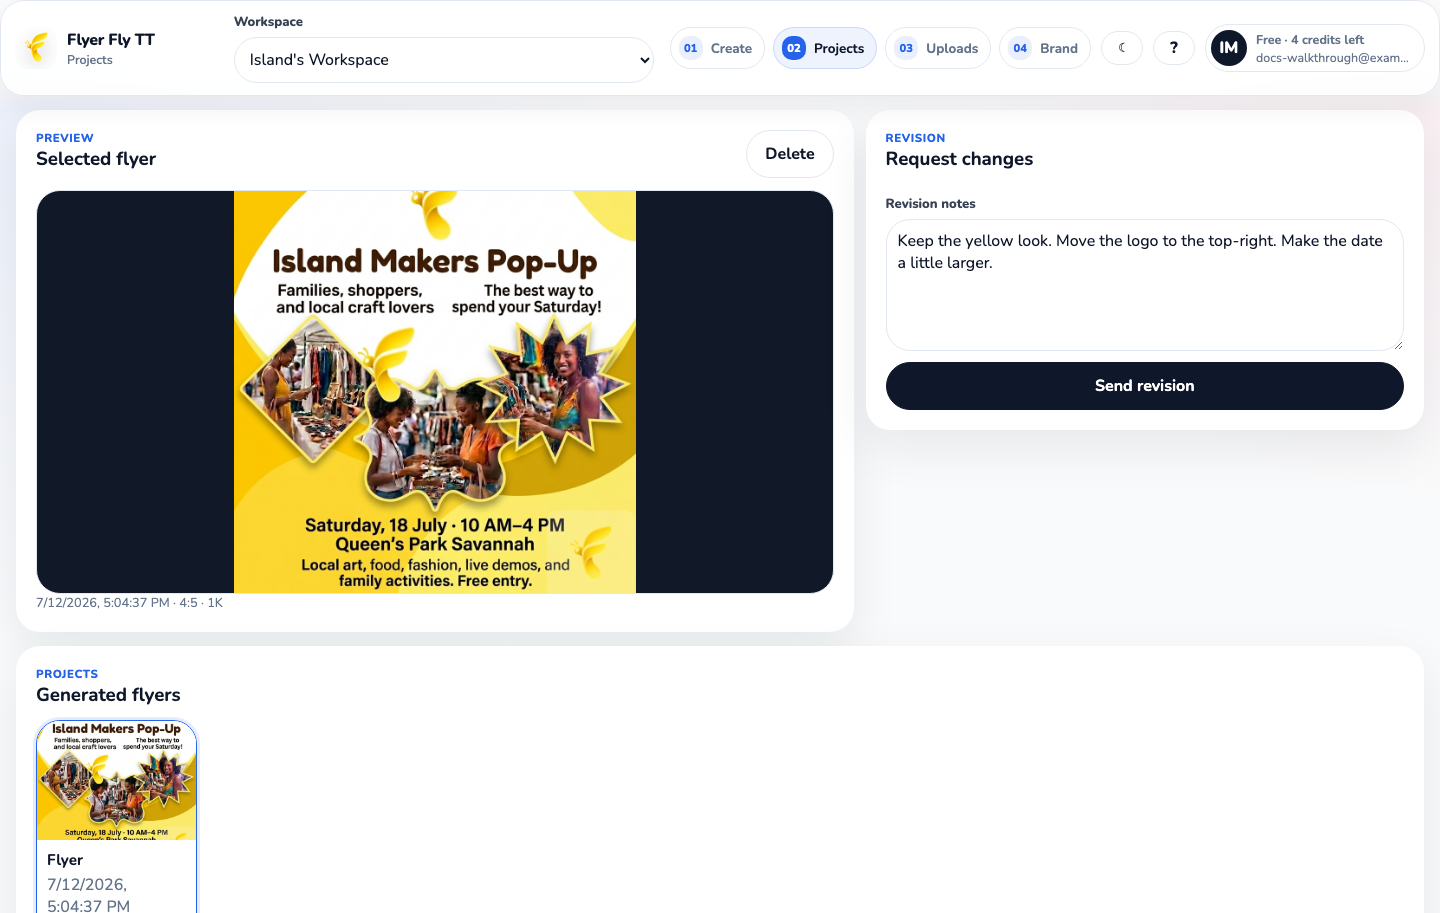
Open the flyer. Tap Delete. Confirm the message. This removes the project.
Keep things organised
Use a separate workspace for each business, brand, client, or team. Files, brand settings, projects, and billing stay with that workspace.
Your remaining credits appear in the top bar. The Generate button shows the cost before you use it. Higher image quality can cost more.
Phone and tablet
The same tools are available on smaller screens. The navigation moves into the menu.
When something feels off
Try a common image file such as PNG, JPG, WebP, or SVG. Make sure the file opens on your device. Then try again.
Generate the palette again from a clearer logo. You can also tap each swatch and choose the exact colour yourself.
Check the upload type. A photo must be in Photos. A mascot must be in Mascots. Then reopen the picker.
Add a title or some flyer details first. Then check your remaining credits in the top bar.
Open Pick supporting assets. Unselect the wrong picture. Select only the photos you want for this flyer.
Open Projects. Select the flyer. Write one clear revision note. Then tap Send revision.
Open the studio again from app.flyerflytt.com. Your saved uploads and projects should still be there.
Open Help in the top bar. Choose Help & guided tour. Pick the part you want to see.